
A newly completed bathroom is usually judged by what is immediately visible: the tile layout, vanity, lighting, fixtures and finishes. Yet some of the most consequential design decisions are the ones homeowners will encounter months or years later, when a drain slows, a valve needs to be reached or routine cleaning becomes more difficult than expected.
Designing bathrooms with a focus on maintenance does not require compromising the room’s aesthetics. In many cases, it means selecting components that are easier to access, remove, and clean, then coordinating their locations before the walls and finished surfaces are closed. These details can reduce disruption, protect surrounding finishes, and help the bathroom continue to perform as intended long after installation.
Plan Access Before It Is Needed
Cleanouts, access panels and isolation valves are practical elements that deserve attention during the design phase, particularly in bathrooms with tiled walls, built-in tubs, or plumbing concealed behind cabinetry.
When access is overlooked, a future repair may require cutting into drywall, removing trim, or disturbing a finished surface simply to reach the plumbing.
● Cleanouts: A sanitary cleanout provides an entry point for clearing a drain line. Its location should be functional for the plumber while remaining discreet within the room or an adjacent space. Depending on the layout, a cleanout may be placed beneath a sink, inside a cabinet, or behind an access panel. The important point is that it remains reachable after the room is complete.

● Access Panels: Plumbing access panels serve a similar purpose for components hidden behind walls, including shutoff valves, drains and cleanouts. They may be flush-mounted or surface-mounted and can often be positioned behind a bathtub, inside a closet or in another unobtrusive location. They can also be easily painted or wallpapered over to blend into the finished room. Planning the panel with the millwork, tile and wall layout makes it feel intentional rather than added after a problem occurs.
Specify Drain Components That Can Be Cleaned From Above
Drains are selected partly for appearance, but their maintenance features can have a lasting effect on the homeowner’s experience.
Shower drains with removable debris baskets or accessible strainers can capture hair and other material before it travels farther into the piping. Because the basket can be lifted out and cleaned, routine maintenance is simpler, and a developing blockage may be addressed before it requires snaking the line.
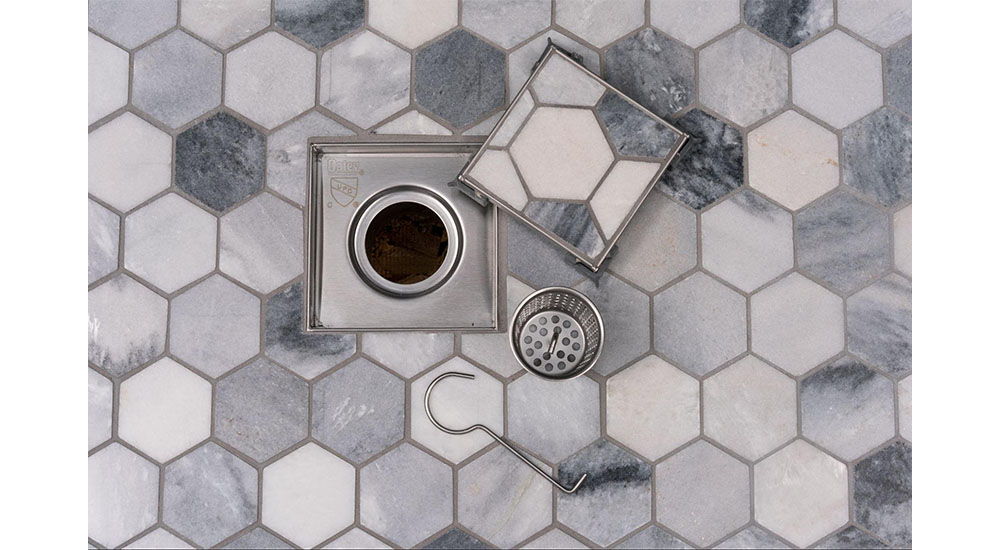
For example, Oatey decorative shower drains combine designer grates in multiple patterns (including tile-in) and finishes with a 304-grade stainless steel, sloped drain body that supports proper drainage. A removable debris basket captures hair before it reaches the drain line, while a lifting key allows the grate to be removed from above for cleaning and maintenance. For designers, this type of drain balances a finished detail that complements the bathroom’s material palette with practical access that can make routine upkeep easier for the homeowner.
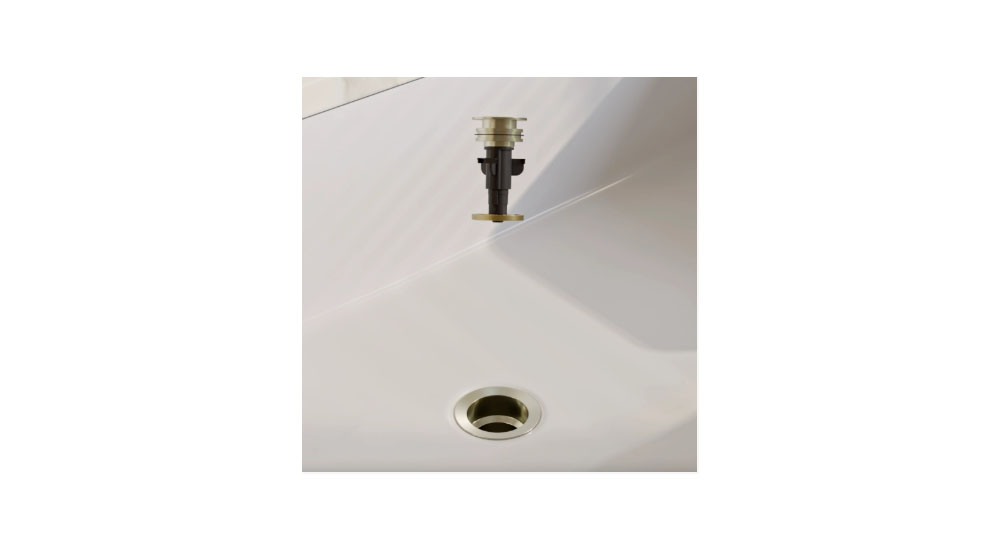
For lavatory drains, the same principles apply. A stopper that lifts out from above the sink gives the homeowner direct access to hair and debris without requiring disassembly beneath the basin.
That matters, because taking apart non-leaking plumbing introduces the possibility of a leak when the components are reassembled. Top-access cleaning reduces that risk and can make a small maintenance task much less intimidating.
The Dearborn Universal Pop Down Sink Drain is one example of how a lavatory drain can balance function with design. Its stopper sits flush with the basin when open, creating a clean, streamlined appearance, while the push-to-open, lift-to-clean design lets the homeowner remove the stopper from above for routine cleaning.
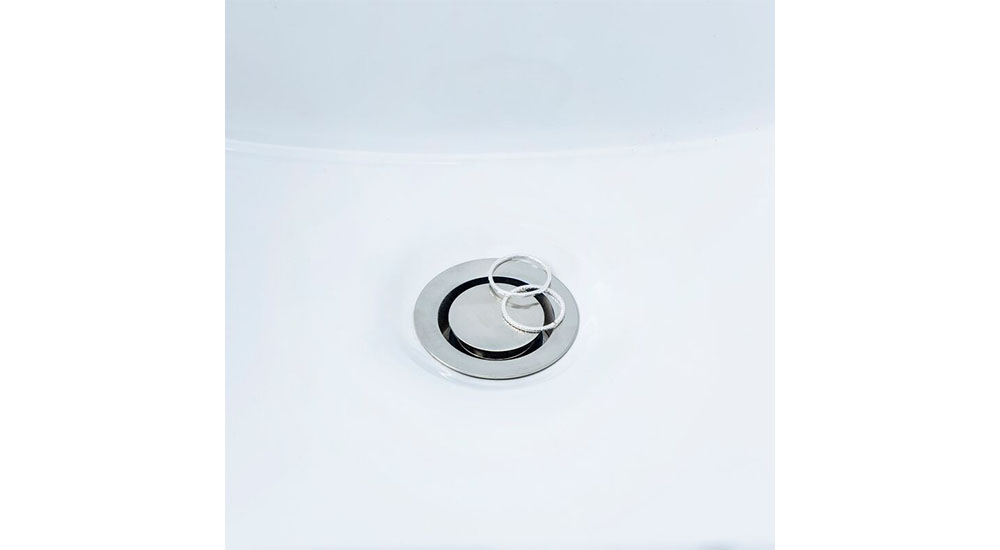
The flush design also prevents jewelry from accidentally going down the drain. A one-piece body helps reduce potential leak paths, and compatibility with both overflow and non-overflow sinks gives designers flexibility across different basin styles without changing the visual intent.
Next time you select a drain, ask yourself how to remove a drain cover, strainer or stopper; what tools are required; and whether the homeowner can reach the collection point without disturbing cabinetry or piping. These questions are especially relevant for floating vanities, compact sink bases and other layouts where the plumbing is tightly enclosed.
Use Drain Seals Where Traps May Dry Out
A floor drain depends on water in its trap to block sewer gas. In guest bathrooms where a floor drain receives little regular water, the trap can dry out, allowing odors to enter the room. A trap primer may be used to replenish that water, but it is a mechanical device that can eventually fail or be overlooked during maintenance.
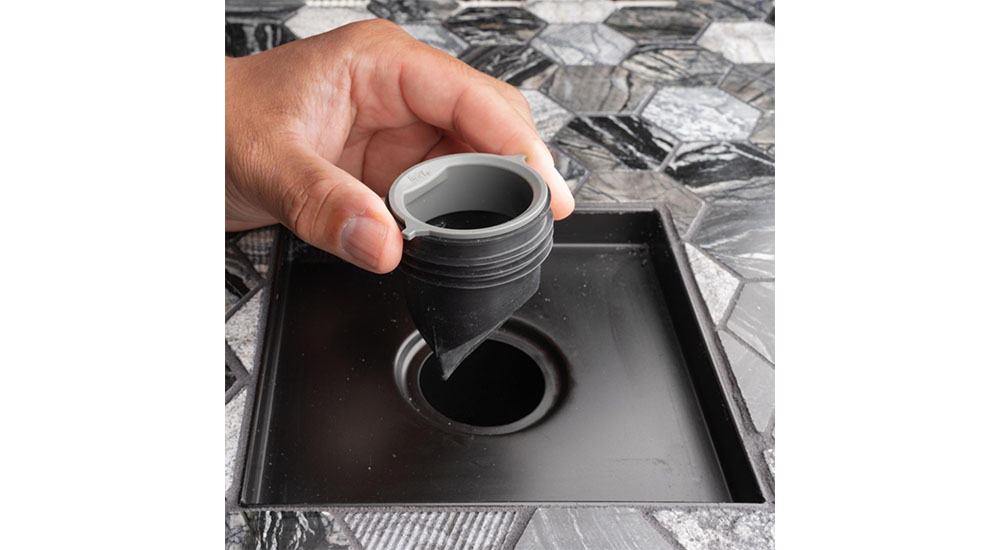
A drain seal is another option for infrequently used drains. Installed within the drain, it allows water to pass through while helping block sewer gas and insects when the drain is dry. If replacement is eventually required, the seal can be pulled out and replaced from above rather than requiring access to a concealed mechanical component.
This is particularly worth discussing for secondary bathrooms, utility-adjacent bath spaces, or any floor drain intended mainly for emergencies. The correct approach depends on the application and local code requirements, so the product selection should be confirmed with the plumbing professional.
Reduce Shower Grout Lines With a Linear Drain
Shower drainage influences more than the location of the outlet.
It also affects tile size, floor slope and the number of grout joints that homeowners will need to clean. A traditional center drain generally requires a four-way slope, which often results in smaller floor tiles and more grout lines.
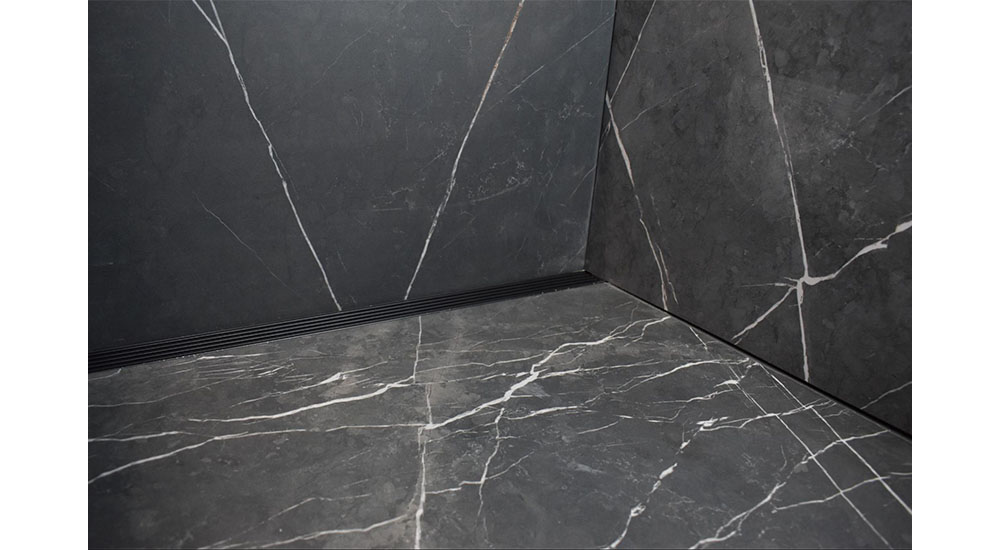
A linear drain uses a single-plane slope, allowing designers to extend large-format tile or solid-surface materials into the shower. Fewer grout joints mean fewer seams where soap residue, grime, mold and mildew can accumulate.
A properly designed linear drain can also support a more continuous visual transition into the shower, including curbless applications. Models with wall-to-wall coverage and a fully sloped trough help direct water efficiently toward the outlet. The drain location, waterproofing system, tile thickness, and finished floor elevations must all be coordinated early, since these factors affect both performance and the final appearance.
Designing Bathrooms: Make Maintenance Part of the Design Conversation
Homeowners may not ask about cleanout access, removable strainers or trap protection during an initial design meeting. They are more likely to notice these details later, when they need to clean the drain or respond to a plumbing problem.
A useful maintenance review can be built into the specification process. Before finalizing the bathroom, identify the shutoff locations, confirm access to concealed plumbing, test or demonstrate how to remove drain components, and consider where debris or standing water could collect. Documenting these items for the homeowner can also make future service more efficient.
The best maintenance-oriented choices work quietly in the background. They preserve the design, make routine cleaning more manageable and reduce the likelihood that a minor plumbing issue will require damage to the finished room. For designers, that is an important part of creating a bathroom that performs as well years from now as it does on installation day.
—Sean Comerford is Manager, Inside Sales and Tech Support, at Oatey Co. He is a third-generation tradesman with nearly 20 years of plumbing experience, including serving as the lead plumber for commercial/residential new-construction, service and fire protection jobs.